SUBMISSION GUIDELINES
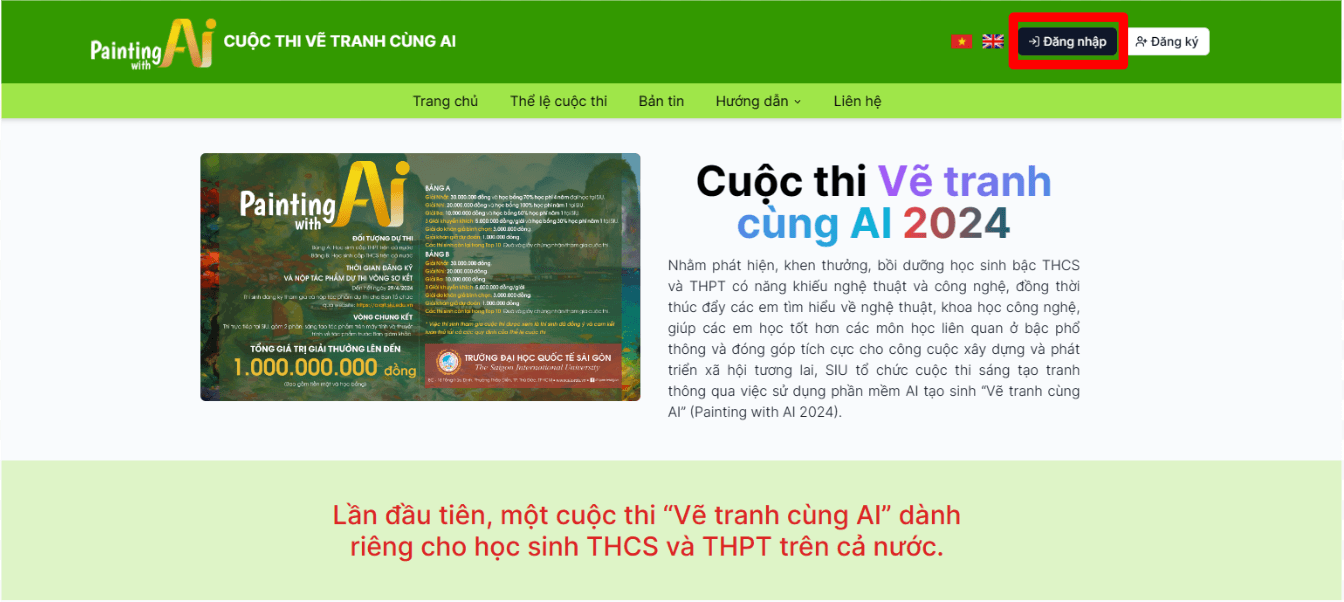
Step 1: Access the contest website (https://aiart.siu.edu.vn/en) and log in to your account by clicking the“Login” button as shown in Figure 1.
 Figure 1. Account login
Step 2: After successfully logging in, click on the“Dashboard” button, then select “Submit Art” to display the submission interface as shown in Figure 2.
 Figure 2. Submission interface
Step 3: Click the “Submit New Art” button(Figure 2) to submit your artwork. After clicking the button, the submission interface will appear as Figure 3.
 Figure 3. Submission interface
Step 4: In the submission interface, participants fill in the fields “Artwork Title”, “Theme”, “Description”, “Prompt”, and“AI Software Name” as follows:
- - Artwork Title: The title of the artwork created by the participant.
- - Theme: Participants choose a theme from the contest themes provided.
- - Description: Here, participants describe the artwork they have created.
- - Prompt: The original text, command sentence that the participant inputs into the AI software (Adobe Firefly, Midjourney, etc.) to create the desired artwork.
- - AI Software Name: Participants write the name of the AI software used. After filling in all the required fields, participants upload the image file to the website and click the “Submit” button to submit the entry.
Note: Participants must enter the correct required information to ensure the validity of the entry.
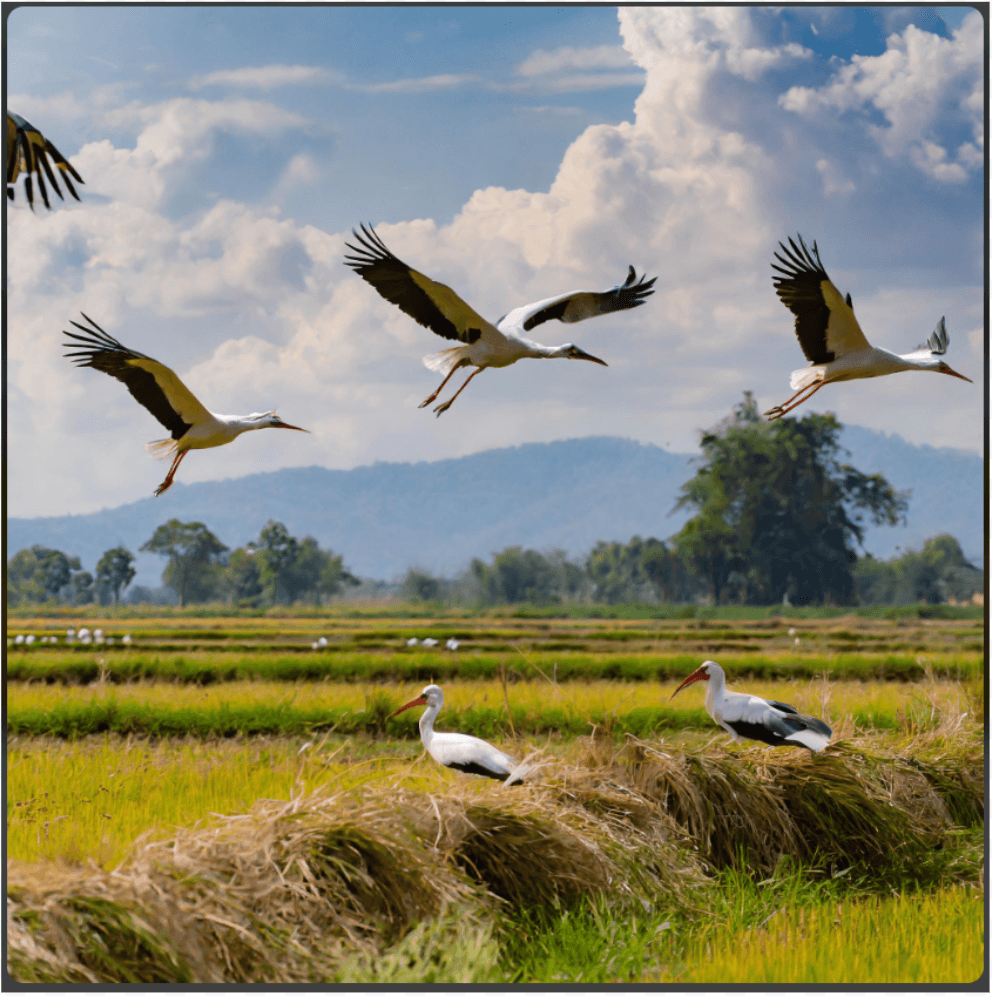
For example: Using Adobe FireFly to generate an artwork with the theme of homeland as shown in Figure 4.
 Figure 4. Ripe rice field
To submit the entry, fill in the information fields as follows:
- - Artwork Title: Rural field with ripe rice.
- - Theme: My homeland.
- - Description: The artwork depicts an image of a ripe rice field on a summer noon with flocks of white storks flying over the lush fields.
- - Prompt: Create for me a“rural scene” during the rice ripening season with “flocks of white storks” flying over the field.
- - AI Software Name: Adobe FireFly.
Submit the entry as shown in Figure 5:
 Figure 5. Submit entry
Step 5: Edit the artwork content (if necessary)
In this step, participants can edit the content of the artwork as follows:
- On the “Dashboard” screen, select the icon to edit the desired artwork content.
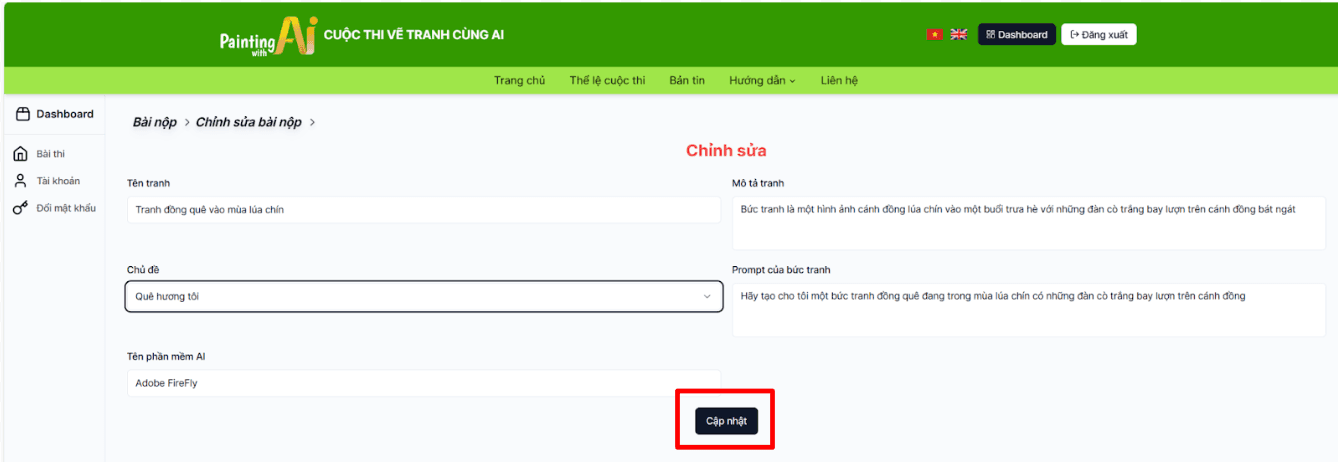
- Then, edit the content to be edited and press the “Update” button to change the information as shown in Figure 6.
 Figure 6. Update artwork content